Northwest Philly Handyman

Blog

How to Make a Custom Coat Hanger

Coats seem to expand every year and this year our coat rack ran out of space. Our previous coat rack had only 6 hooks and it was time for something bigger and finding a pre-made coat rack of the right size wasn’t going to be possible. So, I built this 6′ long rack with 12 hooks so we could use all of the space (and finally find some our buried coats). 
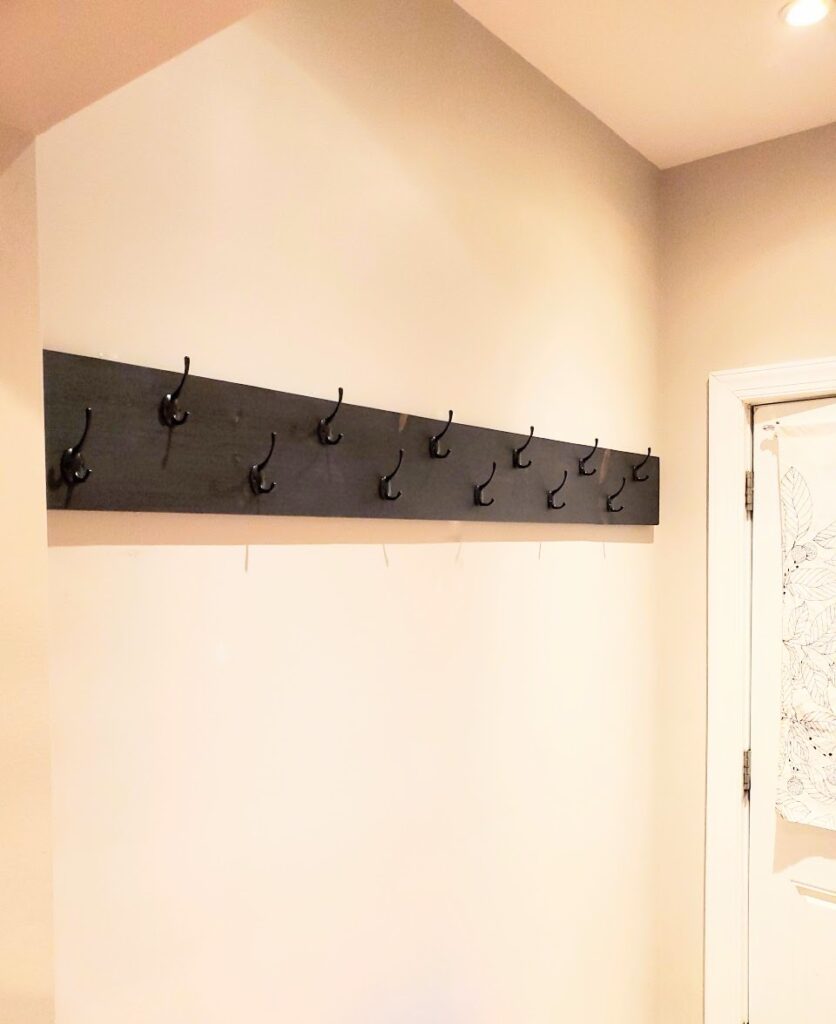
Materials: 
1 x 8 Board
12 Coat Hooks
Stain
Danish Oil
Fasteners
Sander & Sandpaper
Tack Cloth
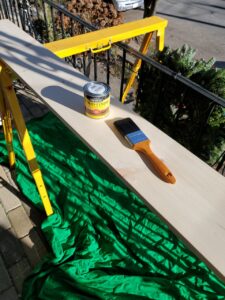
This project begins with a simple wood 1×8 board. In this case, I used pine but you can use any hardwood. Pine is relatively inexpensive and has nice grain but it’s also soft and can get dinged easily. A coat rack won’t see much wear and tear so I’m not worried about it getting damaged. 

Start by sanding the board with 100, 150, then 220 grit sandpaper and use a tack cloth in between and after to remove any dust. Once sanded, apply 3 coats of stain. For this one I used Minwax Dark Walnut. After the stain has dried, apply a few coats of Danish Oil to protect the finish. Paint can be used instead of stain.
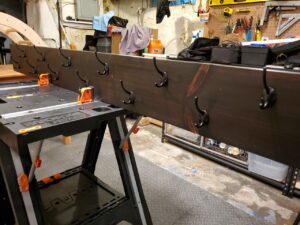
Clamp the board and measure where you’d like to have each hook. I used painter’s tape to mark the lines for the top and bottom of each hanger then used a speed square to get the hooks to the right angle. Then, drill pilot holes and insert the screws to secure the hooks. 

Note that you can begin by laying out the coat hangers before sanding begins. This is a good idea but I wanted to get started before the hangers arrived so I ended up laying them out later. 

To hang the board you can install hangers on the back. In this case I used construction fasteners and buried the heads using a countersink bit. I hid the head using wood putty. The putty blends in nicely (in this case I was able to color them in with a black Sharpie marker) but it can also be dug out when it’s time to remove the hanger.

Need a Custom Coat Rack?

If you’d like to have a custom coat rack built and installed for your space and you live in northwest Philadelphia or nearby neighborhoods, The Northwest Philly Handyman is happy to help. Just let us know what you need with our online estimate tool and we’ll be in touch as soon as possible. 
How to Heat a Cold Bathroom

Heating a room that’s not over the foundation can be a challenge. We struggled with a cold bathroom for years until I finally found out how to easily add heat with a convection panel heater. Read more to find out if a panel heater is right for your bathroom.

Amaze Heat Convection Heater Installation Roxborough Philadelphia

The Problem

Like many homes in Philadelphia, our house in Roxborough has a bump-out on the back of the first floor which has been converted into a bathroom and laundry room. The room is built outside of the foundation so cold air from the outside circulates underneath. Some of these rooms have enough air flowing from the basement to keep them somewhat warm, but most don’t. So, what are the options to add heat?

Options for Heating a Cold Bathroom

The best option is to have a heat source that’s part of the whole house heating system. For example, a vent or a radiator. Sometimes, especially if it’s a forced air vent, it’s just not strong enough to make a difference. In our case, we have a vent but it’s just not enough. We tried traditional space heaters but never felt comfortable with that option especially with a dog and kids. I considered hard-wiring an electric baseboard heater but then I’d have to replace our electrical panel in order to accommodate it. Then, I finally found a radiant panel heater and figured we’d give it a shot. 

The Panel Heater

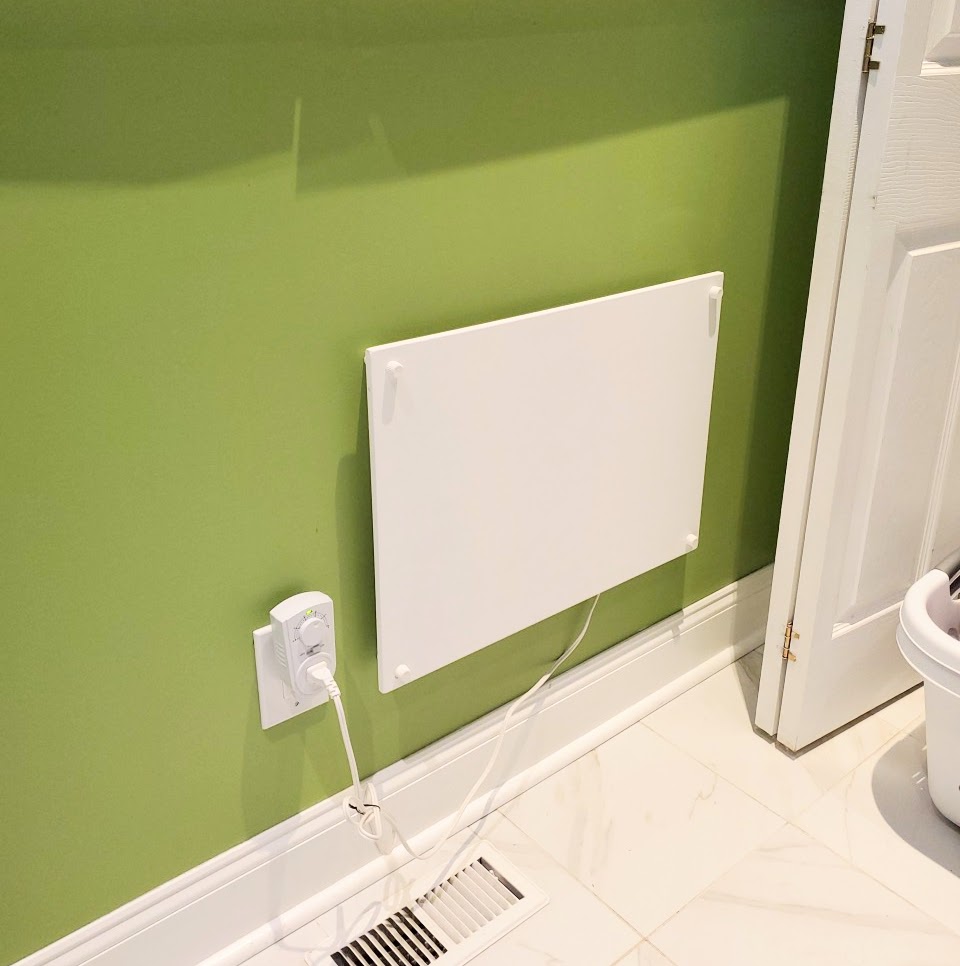
A panel heater is a slim radiant heater that attaches to the wall and plugs into an outlet. There are no moving parts, it draws a very small amount of energy, and it works like a dream. It’s easy to install and the temperature can be regulated with a plug in thermostat. 

The unit heats up to 185 degrees so it’s hot to the touch but not so hot that you wouldn’t move away before getting burned (though I imagine you’d get a burn if you just held your skin to it for a few seconds). You can also get a cover for the unit to help protect against burns. 

I haven’t done anything to ours yet to make it blend into the wall, but it can be painted. So, if you don’t want it to stand out then this is an option. 

The heater that we got for our bathroom cost about $100 including the plug in thermostat. I also ended up buying another one for our unit that has a built-in smart thermostat so we can adjust it with our smart phones. That one cost about $150 since it’s built to heat a bigger room and has the smart phone compatibility.

Does it Work?

We’ve had our panel heater in for about two weeks now and I love it. When I wake up in the morning I come to the kitchen to turn on the coffee maker and then I head to this bathroom. In the winter it’s always been as cold as an outhouse. Now, it’s no different than the rest of the house. The tile floor is cold, as tile always is, but it’s bearable now.  I’m so happy with the panel heater that I decided to get the second one for our bedroom where we have a bay window style bump out that also gets really cold. 

Where to Buy a Panel Heater

I bought our panel heater and thermostat through Amazon. The heater that I got for our bathroom is the Amaze Heat Mini 250 watt. There are also 400 and 600 watt versions for larger rooms.  Our unit is about 18″x24″x2″. The Amaze Heat thermostat wasn’t available at the time so I got the Econohome Adjustable Universal Thermostat instead and it works perfectly. You can also find convection panel heaters at big box stores like Home Depot and Lowe’s. 

How to Install a Convection Panel Heater

The Amaze Heat convection panel heater is easy to install. It comes with the necessary hardware for installing in drywall or directly to studs. You may have to use both because the dimensions of the unit don’t line up to typical stud placement. To install the unit you’ll need to use a level and painter’s tape to set up the included template and then pre-drill four holes then attach the included mounting hardware. Between unpacking and installation the job should take about 30-45 minutes. 
 

Need Help with Installation?

If you prefer to have someone else install your convection panel heater and you live in Roxborough, Manayunk, Chestnut Hill, Germantown, Mt. Airy, East Falls, Bala Cynwyd, Narberth, Merion Station, or Lafayette Hill then The Northwest Philly Handyman will be happy help. You can request an installation estimate here